
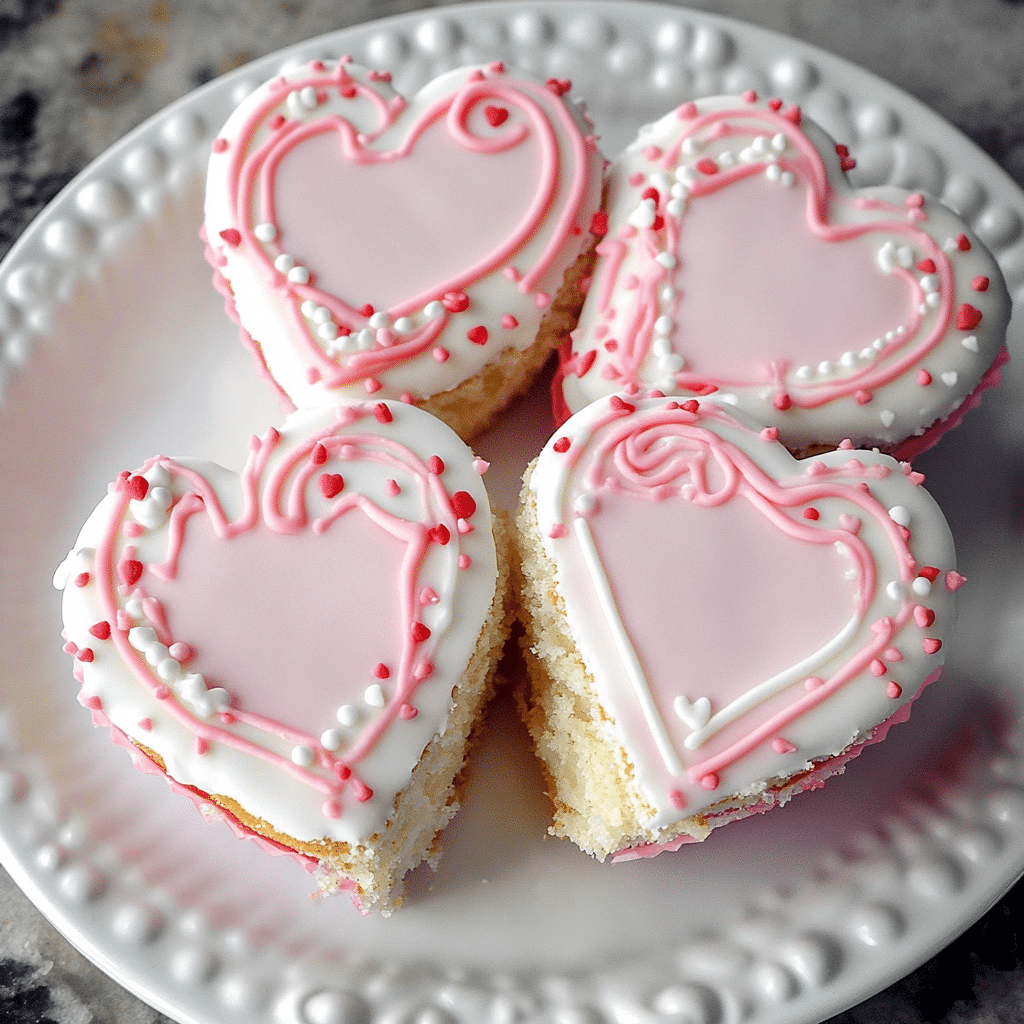
Copycat Little Debbie Valentine Cakes are a homemade version of the iconic seasonal snack cakes, featuring a soft, tender cake base topped with a layer of creamy filling and coated in a rich pink frosting. These cakes are typically shaped into heart or round forms and have a nostalgic flavor that’s sweet and slightly buttery. The filling is light and fluffy, and the pink frosting is both festive and delicious, making them perfect for Valentine’s Day or any sweet occasion.
I first made Copycat Little Debbie Valentine Cakes when I was in the mood for a fun, nostalgic treat, and they turned out to be just as good (if not better) than the store-bought version. The cake is soft and moist, and the sweet filling paired with the pink frosting creates that perfect balance of flavors. What I love most about this recipe is how easy it is to make, and how customizable you can get with the design—whether you want to shape them into hearts or decorate with sprinkles. These homemade Valentine cakes are perfect for gifting or sharing with loved ones!
Perfect for:
- Valentine’s Day celebrations
- Snack time
- Sharing with loved ones
- Sweet tooth cravings
- Cake lovers
Why You’ll Love This Recipe
Here are 10 reasons why Copycat Little Debbie Valentine Cakes will be your new favorite sweet treat:
- Sweet and Creamy: The combination of soft cake and creamy filling is simply irresistible.
- Perfectly Pink: A vibrant pink glaze makes these cakes a fun and festive treat for Valentine’s Day.
- Homemade Goodness: These cakes are made from scratch, giving you a fresh and homemade version of a classic favorite.
- Easy to Make: With simple ingredients and easy-to-follow instructions, you can whip up a batch of these cakes in no time.
- Ideal for Sharing: These cakes are the perfect size for sharing with friends, family, or that special someone.
- Soft and Moist Cake: The cake is light, fluffy, and moist, with the perfect crumb texture.
- Vanilla Cream Filling: The smooth vanilla cream adds just the right amount of sweetness to complement the cake.
- Customizable Glaze: You can adjust the glaze to be as thick or thin as you like, making it customizable to your taste.
- Festive Treat: The pink glaze and heart-shaped cakes make these perfect for any Valentine’s Day celebration.
- Kid-Friendly: These cakes are a fun and safe baking project for kids to help with and enjoy.
Preparation and Cooking Time
- Total Time: 2 hours
- Preparation Time: 45 minutes
- Cooking Time: 20 minutes
- Cooling Time: 1 hour
- Servings: 12 cakes
- Calories per serving: Approximately 300-350 calories
- Key Nutrients: Protein: 2g, Carbs: 45g, Fat: 15g
Ingredients
For the Cake:
- 1 ½ cups all-purpose flour
- 1 teaspoon baking powder
- ½ teaspoon baking soda
- ¼ teaspoon salt
- ½ cup unsalted butter, softened
- 1 cup granulated sugar
- 2 large eggs
- ½ cup buttermilk
- 1 teaspoon vanilla extract
- ½ teaspoon almond extract (optional)
The Filling:
- 1 cup powdered sugar
- ¼ cup unsalted butter, softened
- 2 tablespoons heavy cream
- 1 teaspoon vanilla extract
For the Glaze:
- 1 ½ cups powdered sugar
- 2-3 tablespoons milk
- ½ teaspoon vanilla extract
- Pink food coloring
Optional Garnish:
- Sprinkles or edible glitter
Ingredient Highlights
- Buttermilk: Ensures a moist and tender cake crumb.
- Butter: Adds richness and flavor to the cake and filling.
- Vanilla Extract: A classic flavor that enhances both the cake and filling.
- Pink Food Coloring: Gives the glaze its vibrant color, perfect for Valentine’s Day.
Step-by-Step Instructions
Make the Cake:
- Preheat Oven: Preheat your oven to 350°F (175°C). Grease and flour a 9×13-inch baking pan.
- Mix Dry Ingredients: In a medium bowl, whisk together the flour, baking powder, baking soda, and salt.
- Cream Butter and Sugar: In a large bowl, beat butter and sugar with an electric mixer until light and fluffy.
- Add Eggs and Extracts: Beat in eggs one at a time, followed by vanilla and almond extracts.
- Add Dry Ingredients and Buttermilk: Gradually add the dry ingredients to the wet mixture, alternating with buttermilk, beginning and ending with the dry ingredients.
- Bake: Pour the batter into the prepared pan and bake for 18-20 minutes, or until a toothpick inserted into the center comes out clean. Let the cake cool completely.
Prepare the Filling:
- Make Cream Filling: In a medium bowl, beat together powdered sugar, butter, heavy cream, and vanilla extract until smooth and fluffy.
- Fill the Cakes: Once the cake is cooled, cut out heart shapes using a cookie cutter or a knife. Carefully slice each heart in half and pipe or spread the vanilla cream filling between the layers.
Prepare the Glaze:
- Make the Glaze: In a small bowl, whisk together powdered sugar, milk, vanilla extract, and a few drops of pink food coloring until smooth and slightly thick.
- Glaze the Cakes: Dip the top of each filled cake into the pink glaze, allowing any excess to drip off. Let the glaze set for 30 minutes.
Serve:
- Garnish and Serve: Optionally, sprinkle with colorful sprinkles or edible glitter for extra flair. Serve at room temperature.
How to Serve
Here are 10 serving suggestions for Copycat Little Debbie Valentine Cakes:
- As a Valentine’s Day Snack: Perfect for a sweet treat after dinner or a surprise for someone special.
- For Afternoon Tea: Serve with a cup of tea or coffee for an indulgent break.
- For Sharing: Cut the cakes into smaller pieces to share with a group.
- As a Gift: Wrap in cellophane and tie with a ribbon to give as a homemade gift.
- With Whipped Cream: Serve with a dollop of freshly whipped cream for an extra touch.
- For a Sweet Breakfast: Enjoy a piece with your morning coffee or tea.
- On a Dessert Table: Add these cakes to a dessert spread for a festive touch.
- With Ice Cream: Pair with vanilla or strawberry ice cream for a delightful contrast.
- At a Valentine’s Day Party: Serve these cakes as a fun, festive dessert for your celebration.
- With Fresh Fruit: Pair with strawberries or raspberries for a fruity accompaniment.
Additional Tips
- Customize the Shape: Use any shape for the cake, not just hearts, to fit any occasion.
- Adjust the Glaze Thickness: Add more milk for a thinner glaze or more powdered sugar for a thicker one.
- Chill the Cakes: Allow the cakes to chill for 30 minutes before glazing for a smoother finish.
- Use Room Temperature Ingredients: Ensure butter and eggs are at room temperature for better mixing.
Recipe Variations
- Lemon Valentine Cakes: Add lemon zest to the cake batter for a refreshing twist.
- Chocolate Glaze: Use chocolate glaze instead of the pink for a rich, decadent topping.
- Vegan Version: Use dairy-free butter and almond milk for a vegan-friendly option.
- Mini Valentine Cakes: Make smaller versions using a mini heart-shaped pan for individual servings.
- Chocolate Cake: Swap out the vanilla cake for a chocolate cake for an extra indulgent treat.
- Jam Filling: Add a layer of strawberry or raspberry jam for a fruity twist.
- Whipped Cream Filling: Replace the cream filling with whipped cream for a lighter option.
Special Equipment
- Heart-Shaped Cookie Cutter: For creating perfectly shaped cakes.
- Electric Mixer: For easy and quick mixing of the cake batter and filling.
- Cooling Rack: To cool the cakes evenly before glazing.
- Small Bowl: For mixing the glaze.
- Piping Bag: For filling the cakes neatly.
- Sprinkle Containers: For adding fun and festive toppings.
FAQ Section
- Can I use a different shape instead of hearts?
Yes, you can use any shape that suits the occasion, such as circles or stars. - How long do these cakes last?
These cakes will stay fresh in an airtight container for up to 3 days at room temperature. - Can I freeze these cakes?
Yes, you can freeze the cakes for up to 1 month. Thaw at room temperature before serving. - Can I substitute the butter in the filling?
You can substitute with margarine or shortening, though it may slightly change the texture. - Can I make these cakes ahead of time?
Yes, you can prepare the cakes and filling ahead of time and glaze them on the day you plan to serve them. - Can I use a different color for the glaze?
Absolutely! You can use any food coloring to customize the glaze for different occasions. - How do I keep the glaze from dripping too much?
Make sure the cakes are cooled before glazing and that the glaze has thickened slightly. - Can I make these cakes without the filling?
Yes, you can make them as simple glazed cakes or add any other filling of your choice. - Can I double the recipe?
Yes, simply double the ingredients and use a larger pan or make multiple batches. - How do I prevent the glaze from hardening too quickly?
Work quickly with the glaze and avoid leaving it uncovered, as it can harden faster in air.
Conclusion
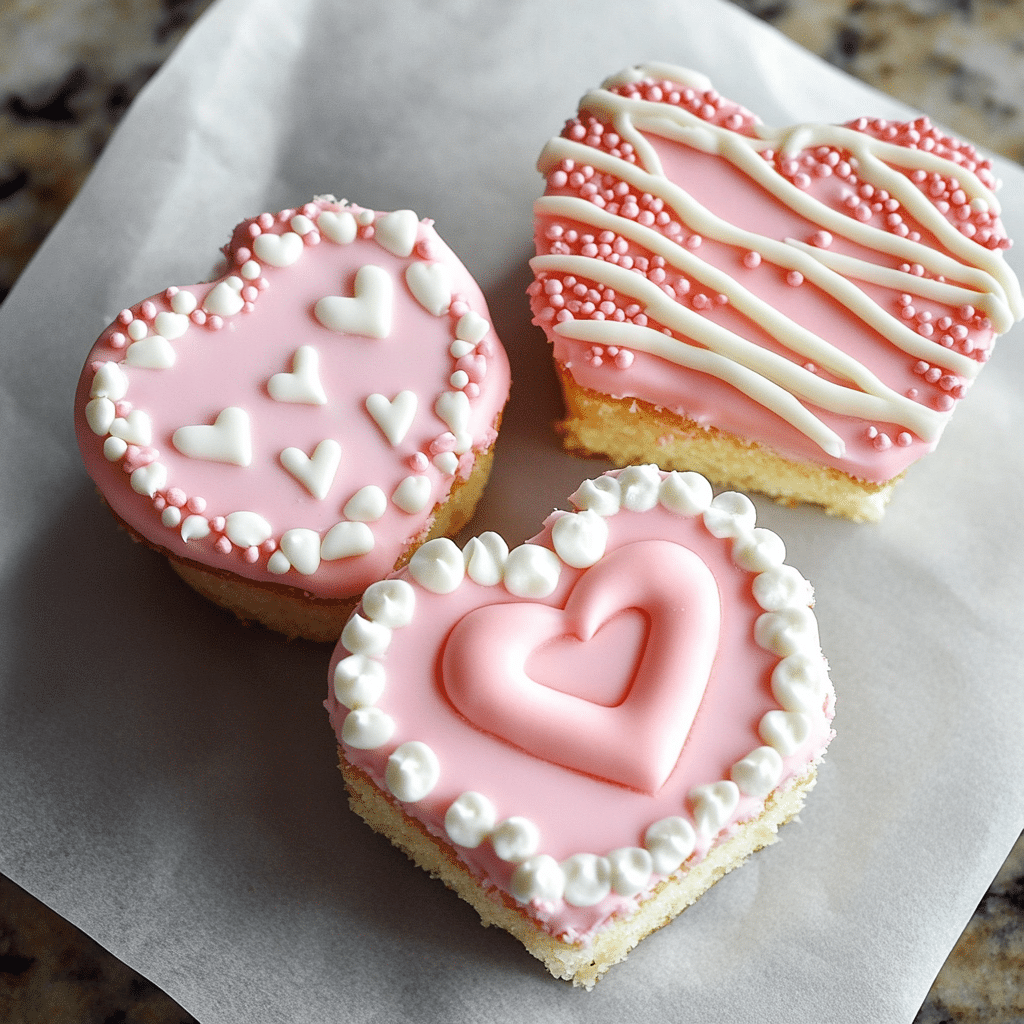
Copycat Little Debbie Valentine Cakes are a fun, homemade version of the beloved snack cakes that make for a sweet treat on Valentine’s Day or any occasion. These soft, moist cakes are coated in a rich pink icing, often with a hint of vanilla flavor, and filled with a creamy, fluffy center. The combination of the light cake, sweet icing, and smooth filling makes for a nostalgic dessert that’s both cute and delicious.
To make these cakes at home, you’ll start by baking soft, airy layers of cake, then cut them into the signature heart shape. Once cooled, each cake is dipped in pink icing, then topped with a swirl of frosting or sprinkles for that signature Little Debbie look. The result is a homemade version that’s just as delightful and fun as the store-bought treat. These cakes are perfect for sharing with loved ones, gifting in treat boxes, or enjoying as a special dessert. You can also get creative by adding a little flavor to the icing, like almond extract or a touch of cocoa for a chocolate version.
I can’t wait to see how your Copycat Little Debbie Valentine Cakes turn out! Be sure to share your photos on Instagram and tag me—I’d love to see your sweet creations. Don’t forget to leave a comment and let me know how you made these cakes your own!